Troubleshooting guide/how it works
Having issues with your kit? This guide should help!

Assembly instructions for “The Works” lighting kit
System installation guide and description of operation:
Wing board assembly:
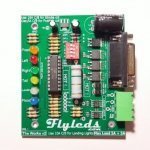
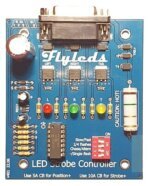
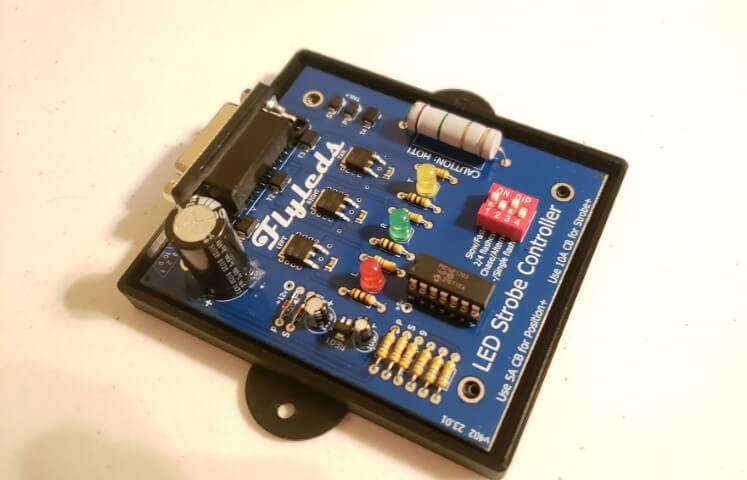
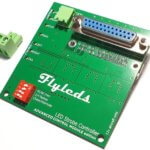
Controller board assembly:
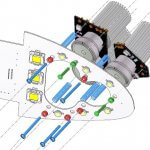
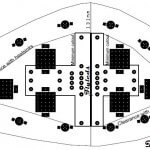
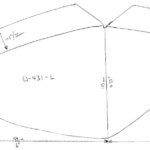
Wing cutting templates:
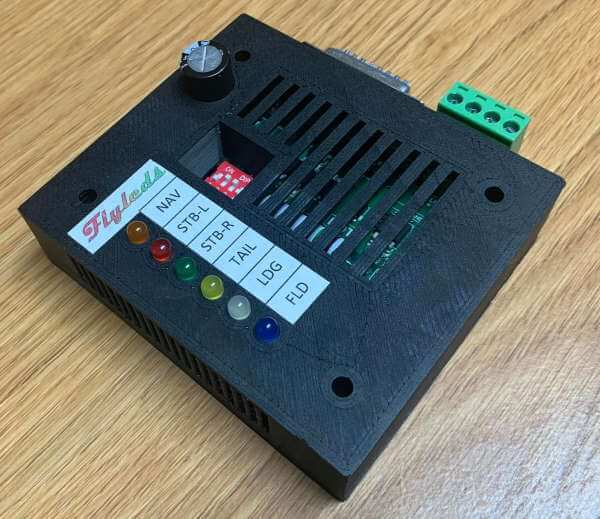
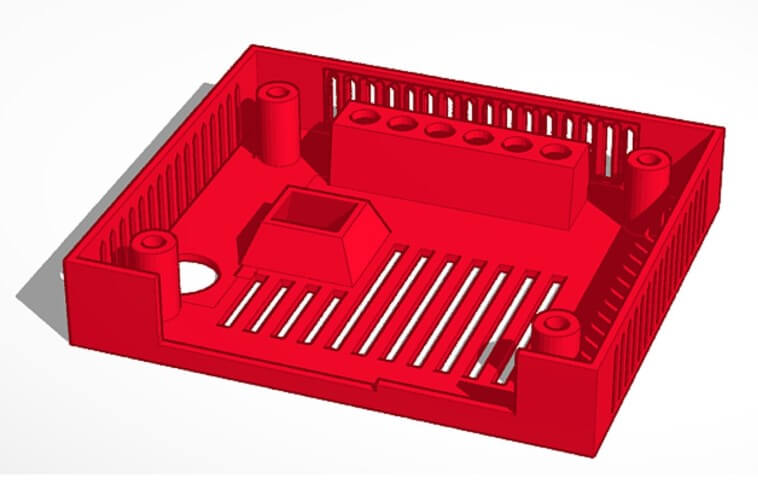
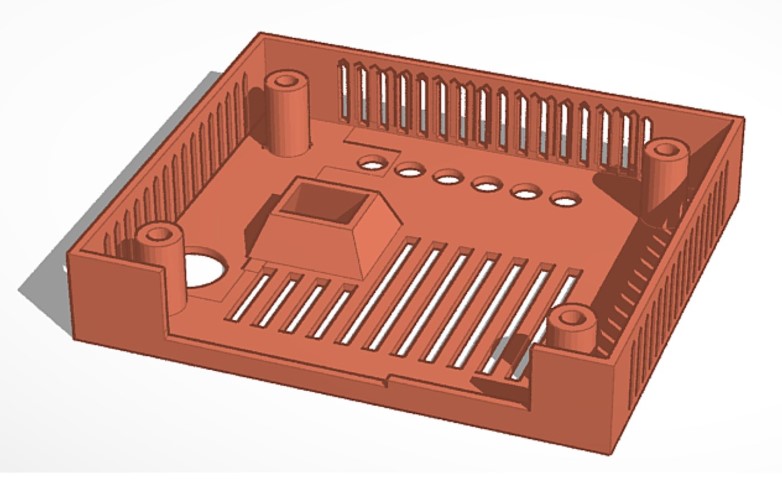
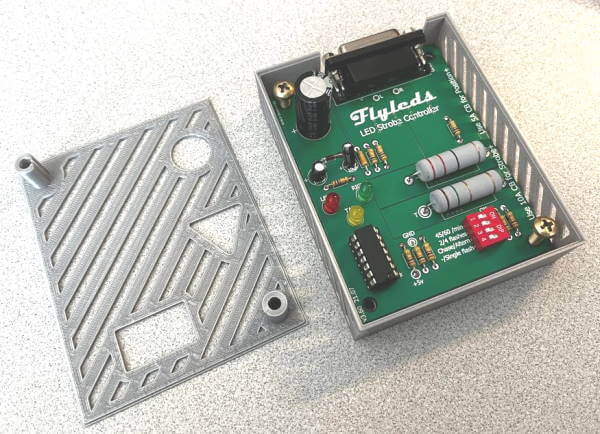
The Works controller board can be mounted somewhere out of the way ‘naked’ with the supplied stand-offs, and it is also designed to fit inside a Hammond 1591XXSS series box, available from Digikey and Mouser as two examples.
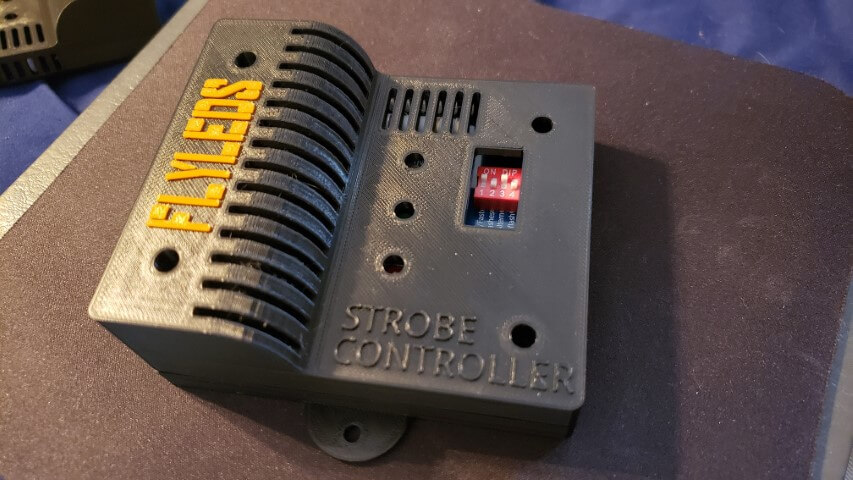
A customer (thanks Jim!) designed and shared a 3D printed case as well. Click HERE for the STL file.
Note: you may have to scale the design up by 25.4 (2540%) to convert the inch design to metric.

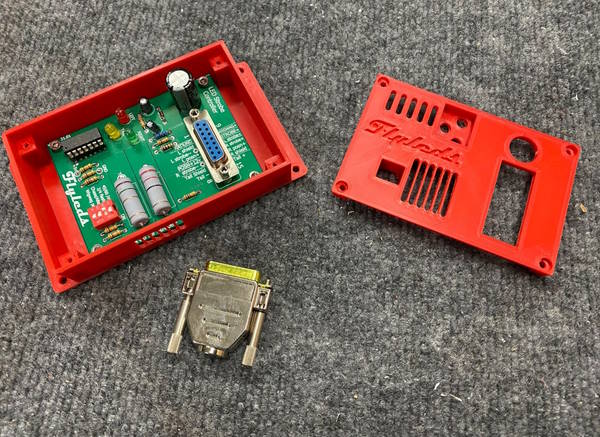
Another customer (thanks Dick!) has tweaked the files to separate the base from the lid. He presents two versions of the lid, one with the LEDs elevated from the PCB and one with the LEDs mounted flush to the PCB as per the plans. Click HERE for the STL files.
Assembly instructions for “The Essentials” lighting kit
aka The Original kit
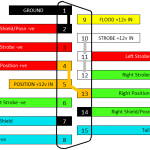
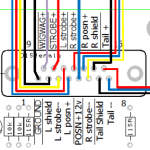
System wiring guide:
Wing board assembly:
Controller board assembly:
Wing cutting templates:
The controller board can be mounted somewhere out of the way ‘naked’ with the supplied stand-offs, or it could be fitted into one of these customer supplied 3D printed enclosures:
The current blue v4.0+ PCBs fit into a Hammond 1591XXSS series box. Customer Jerry B came up with this option as well:
This one (thanks Guil!) suits the earlier green PCB version 3.5 & 3.6 with a right angle connector. Download from HERE.
And this one (thanks Mike!) fits green v3.3 and earlier design PCBs. Click HERE for the STL files.
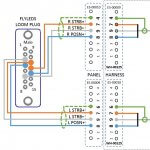
RV-14 wiring harness integration
Van’s supplies a “Common Fuselage harness” WH-00125 along with wiring harnesses for the wings and tail. This guide shows you how to integrate our The Original or The Works Flyleds kits with these harnesses, along with our landing lights.
Advanced Quick Panel ACM integration
The ACM is just a (very clever!) big red fuse block as far as the Flyleds kit is concerned. We’d put one in a new plane too! This wiring guide should help you to visualize how to connect your Flyleds kit to it. (Hint: it’s easy!)
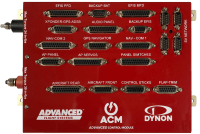
And now it’s been made even easier with our new ACM Controller Board:
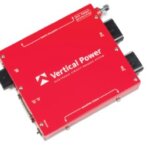
Vertical Power VP-X integration
The VP-X is also a big red fuse block as far as the Flyleds kit is concerned!
All of our landing lights can be happily wired directly to two output pins to take advantage of the automatic wigwag function in the VP-X. Follow their instructions and configure the ports in their software.
For The Works and The Original kits the controller board is still required for the strobe LEDs to function correctly.
Click the VP-X for a diagram.
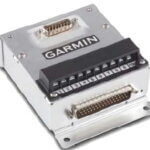
Garmin GAD27 wiring
Our landing lights can be wired directly to a Garmin GAD27, taking advantage of its automatic wigwag function.
For The Works and The Original kits the controller board is still required for the strobe LEDs to function correctly.
Click the GAD27 for a diagram:
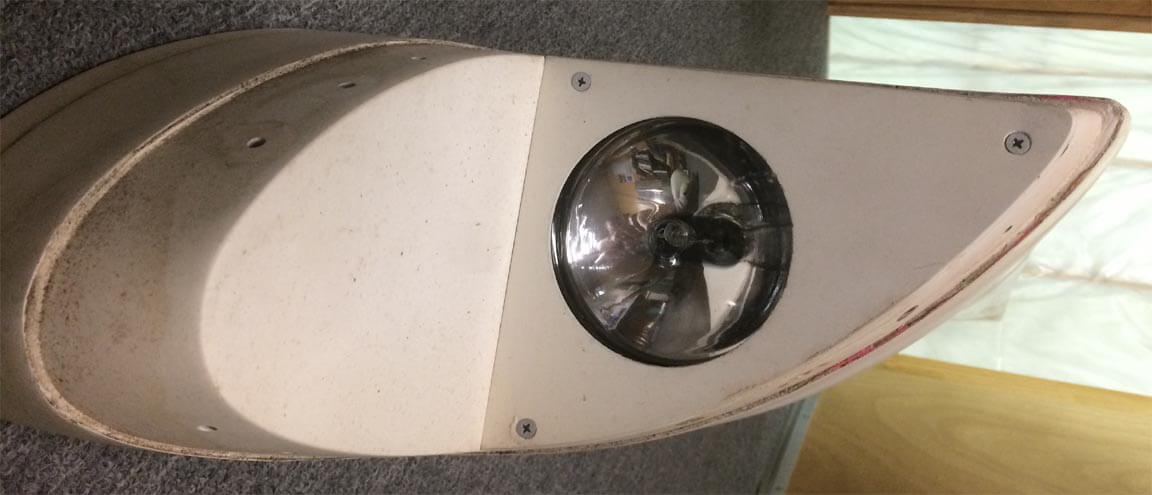
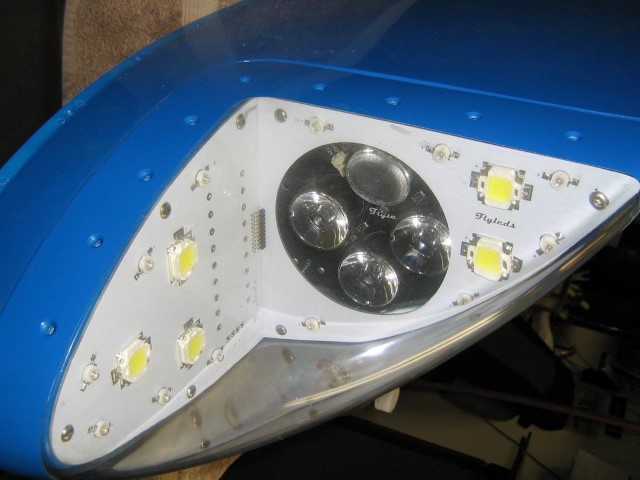
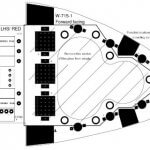
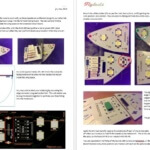
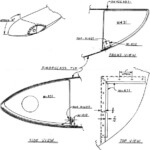
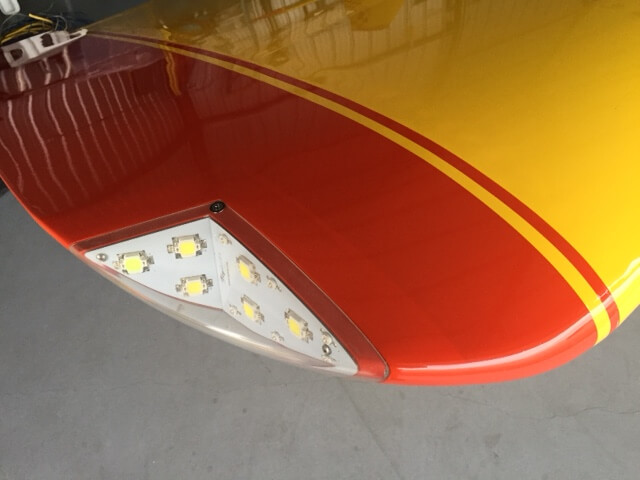
RV-4/-6/-8 W-415 wingtip (Hoerner/Flat top) specific instructions:
They’re back!
OEM Lenses are now also available from our friends at Flyboy Accessories
The W-415 wing can be modified with a kit originally but no longer supplied by Van’s. This makes an aluminium light bay with the faces at 90° to each other.
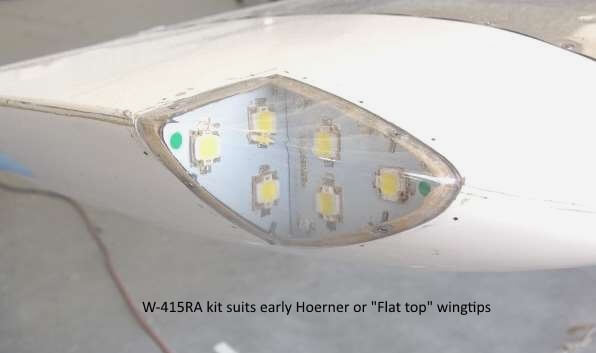
The template and instructions below shows you how simple it would be to hand-craft something similar, as Van’s no longer stock these parts. You could even simply place fiberglass or aluminium tabs or strips inside the wing for the Flyleds boards to attach to.
Order the Original Kit and select the W-415RA option.
Note that there is a light bay insert kit from Airtech made from fiberglass with an 120° opening.
We sell the W-415FG kit to suit this as well.
If your RV-4/6/8 Hoerner wingtips have a PAR36 landing light in them in an RMD Designs insert kit, we have a Flyleds kit for you! Order the RV-4/-6/-8 RMD Original Kit. Our Combo and Quad lights will then fit this kit.